“`html
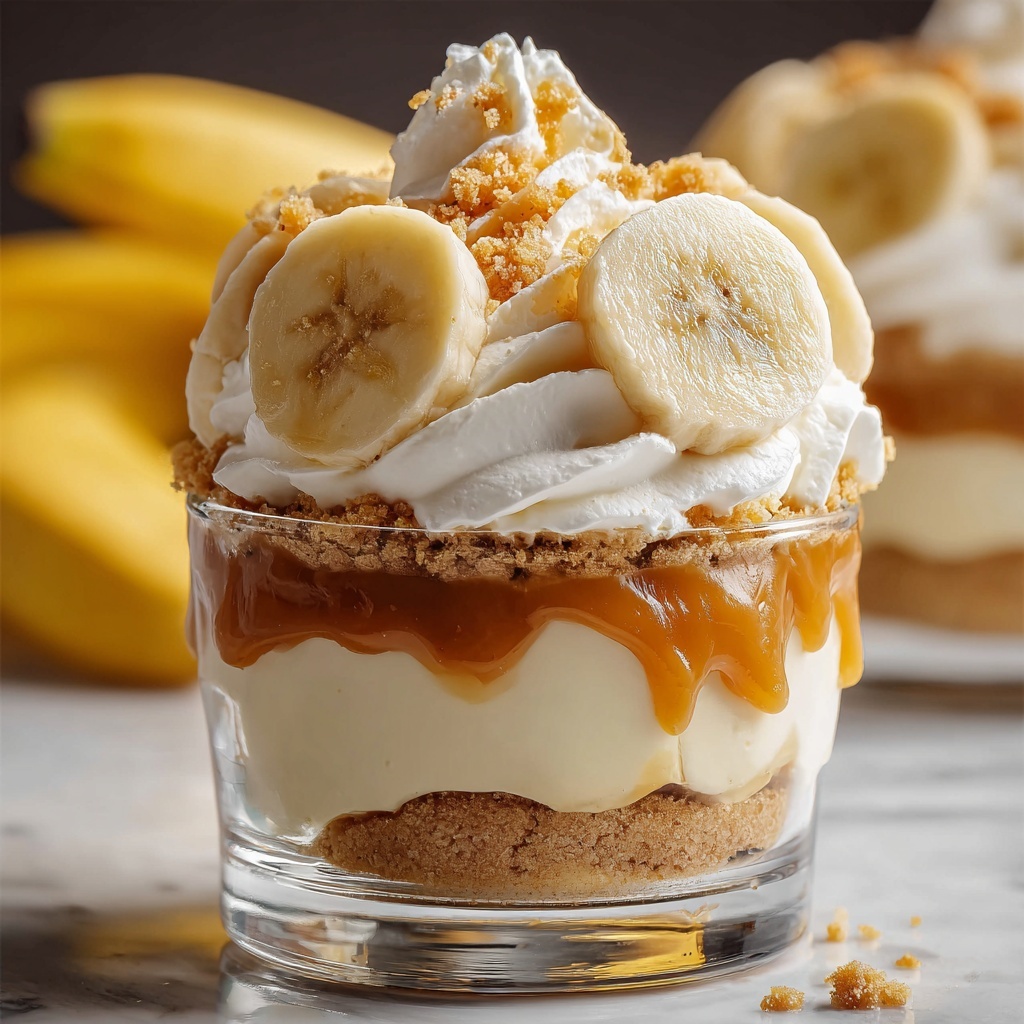
Nothing quite hits the spot like a creamy, dreamy dessert that feels like a warm hug on a warm day, and that’s exactly what this No-Bake Banana Pudding Cups Recipe delivers. Perfectly layered with luscious vanilla pudding, smooth cream cheese, sweet bananas, and crunchy vanilla wafers, these cups are an effortless way to wow your family and friends. No oven required, minimal fuss, just pure, comforting deliciousness in every bite. If you love banana pudding but want a quick, no-fail version that still tastes homemade and indulgent, this recipe is your new best friend.
Ingredients You’ll Need
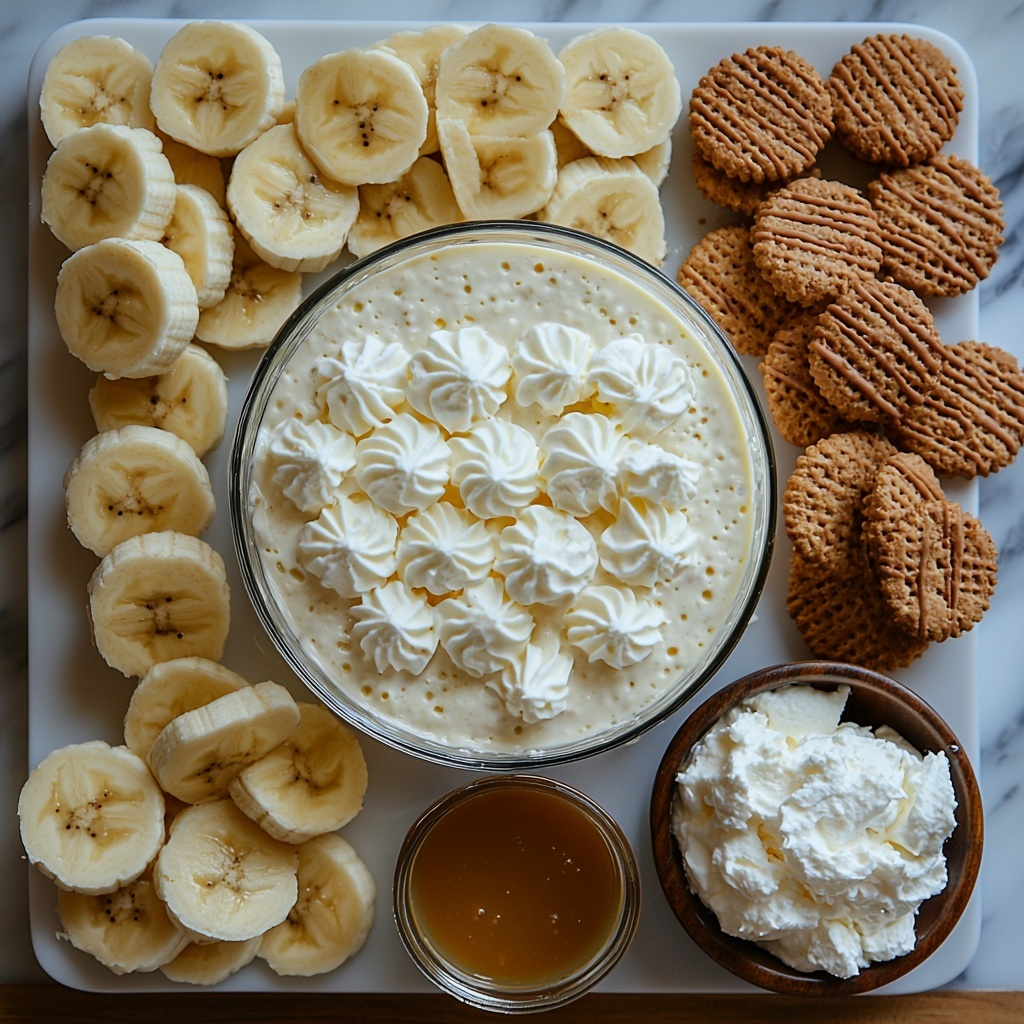
The magic of this recipe is in how simple the ingredients are, yet how perfectly each one plays its part. From the creamy texture brought by cream cheese and whipped topping to the sweet, mellow banana flavor and the unmistakable crunch of vanilla wafers, every component is essential to the final taste and look.
- Instant vanilla pudding mix: Provides that classic banana pudding flavor and creamy base.
- Cold whole milk: Activates the pudding mix and adds richness.
- Pure vanilla extract (optional): Boosts depth of flavor and warmth.
- Cream cheese, softened: Adds a luscious, tangy creaminess that balances the sweetness.
- Sweetened condensed milk: Gives the pudding cups their irresistible sweetness and smooth texture.
- Whipped topping, thawed: Keeps everything light and fluffy, making the dessert feel airy.
- Ripe bananas: The star fruit—soft and sweet, adding natural creaminess.
- Vanilla wafers: Crunchy layers that bring delightful texture contrast.
- Extra whipped cream or topping for garnish: For that perfect finish and extra indulgence.
- Crushed vanilla wafers for garnish: Adds a decorative crunch on top.
- Banana slices for garnish: Fresh, bright slices to enhance presentation.
- Caramel drizzle (optional): For an extra touch of sweetness and elegance.
How to Make No-Bake Banana Pudding Cups Recipe
Step 1: Whip Up the Vanilla Pudding
Start by combining the instant vanilla pudding mix and cold milk in a large bowl. Whisk them together until the mixture thickens gently, about 2 to 3 minutes, creating a luxuriously smooth base. If you want to kick your flavor profile up a notch, stir in a teaspoon of pure vanilla extract. Then, pop this mixture into the fridge to chill, giving it time to firm up while you tackle the next steps.
Step 2: Make the Cream Cheese Mixture
While the pudding chills, grab another large bowl and beat your softened cream cheese until it’s utterly smooth and lump-free. That creamy consistency is vital for the luscious texture we’re aiming for. Next, mix in the sweetened condensed milk, combining until velvety. Gently fold in half of your whipped topping, making sure not to deflate that cloud-like fluffiness that will keep these pudding cups feeling light and fresh.
Step 3: Prepare the Bananas
Now it’s time for the fruit star of the show. Peel your ripe bananas and slice them into neat ¼ inch rounds. If you want to keep your bananas looking fresh and golden, give them a quick toss in a bit of lemon juice. This trick isn’t mandatory, but it’s a genius move for preserving that appetizing fresh color in your dessert layers.
Step 4: Layer Your Pudding Cups
Here comes the fun part—assembling your No-Bake Banana Pudding Cups Recipe! Start with a base layer of crunchy vanilla wafers right at the bottom of your cups or jars. Add a generous layer of banana slices, followed by a smooth spread of your cream cheese mixture, then a layer of chilled vanilla pudding. Repeat these irresistible layers until your cups are full, and finish off with the remaining whipped topping for a perfectly smooth surface.
Step 5: Chill and Let Flavors Meld
The final step before indulging is to refrigerate your cups for at least 2 to 3 hours. This chilling time is essential because it lets all those beautiful layers meld and soften just enough while the flavors deepen and the wafers soften slightly without losing their crunch. When ready, garnish as desired and prepare to be amazed by this effortless crowd-pleaser.
How to Serve No-Bake Banana Pudding Cups Recipe
Garnishes
Presentation is everything, and your No-Bake Banana Pudding Cups Recipe deserves some love on the top! Fresh banana slices bring vibrant color and fresh flavor, while a sprinkle of crushed vanilla wafers adds an inviting crunch. For a touch of elegance, consider drizzling caramel sauce over each cup or adding a dollop of extra whipped cream. Each garnish not only enhances the look but also elevates the texture and taste experience.
Side Dishes
While these pudding cups shine all on their own, pairing them with fresh berries or a light citrus salad can brighten the palate and complement the dessert’s creamy sweetness. A side of crisp biscotti or shortbread cookies also adds a lovely crunchy bite if you want to amp up the indulgence for your guests.
Creative Ways to Present
These pudding cups are delightfully versatile when it comes to presentation. Serve them in clear glass jars for a rustic charm, or go fancy with mini trifle bowls. For parties, assemble them in individual wine glasses or even small mason jars with striped straws for a playful twist. Adding edible flowers or colorful fruit slices on top can also turn a simple dessert into a stunning centerpiece.
Make Ahead and Storage
Storing Leftovers
If you happen to have leftovers—which might be rare—they’ll keep beautifully covered in the fridge for up to 3 days. Keep the cups tightly wrapped or in an airtight container to prevent the bananas from browning excessively and to maintain that creamy texture you love.
Freezing
Freezing these banana pudding cups is generally not recommended as bananas and whipped toppings don’t freeze well and can become watery or grainy upon thawing. For best results, enjoy them fresh or within a few days of making.
Reheating
This dessert is meant to be enjoyed cold and refreshing, so reheating isn’t necessary or ideal. If your cups get too chilled, simply let them sit at room temperature for about 10 minutes before serving to bring out the flavors and soften the texture slightly.
FAQs
Can I use a different type of milk for this pudding?
Whole milk gives the pudding the best creamy texture, but you can substitute with 2% or even almond milk if needed, just keep in mind the flavor and texture may be slightly different.
Is it okay to use low-fat or fat-free cream cheese?
Low-fat cream cheese can be used, but it may impact the richness and creamy mouthfeel of the dessert. For the best experience, full-fat cream cheese is recommended.
Can I prepare these pudding cups a day ahead?
Absolutely! In fact, making them a few hours or even a day ahead allows the flavors to meld and the wafers to soften gently, making your No-Bake Banana Pudding Cups Recipe even more delicious.
What if my bananas brown before serving?
To prevent browning, either toss banana slices in lemon juice or add fresh banana slices just before serving. This keeps the bananas looking fresh and appetizing.
Can I substitute the vanilla wafers with something else?
Yes, graham crackers or shortbread cookies can work as alternatives for the crunchy layers, but vanilla wafers are classic and provide the perfect balance of flavor and texture.
Final Thoughts
There is something incredibly comforting and satisfying about this No-Bake Banana Pudding Cups Recipe that makes it a true classic in my dessert repertoire. So easy to pull together, with layers of flavor and texture that feel special without hours in the kitchen, it’s perfect for any occasion or just because. I wholeheartedly encourage you to give it a try, serve it up to family or friends, and watch as these creamy, crunchy, fruity delights disappear faster than you can say “banana pudding!”
“`
Print
No-Bake Banana Pudding Cups Recipe
- Prep Time: 30 minutes
- Cook Time: 0 minutes
- Total Time: 2 hours 30 minutes
- Yield: 6-8 servings
- Category: Dessert
- Method: No-Cook
- Cuisine: American
Description
These Delicious No-Bake Banana Pudding Cups combine creamy vanilla pudding, rich cream cheese filling, ripe bananas, and crunchy vanilla wafers in a layered dessert that’s easy to assemble and perfect for any occasion. With no baking required, this cool, creamy treat is refreshing and indulgent, making it a favorite for family gatherings or casual get-togethers.
Ingredients
Pudding Mixture
- 1 (5.1 oz) box instant vanilla pudding mix
- 3 cups cold whole milk
- 1 teaspoon pure vanilla extract (optional)
Cheesecake Mixture
- 1 (8 oz) package cream cheese, softened
- 1 (14 oz) can sweetened condensed milk
- 1 (12 oz) container whipped topping, thawed (half for mixture, half for topping)
Other Ingredients
- 4–5 ripe bananas
- 1 box vanilla wafers (about 11 oz)
- Extra whipped cream or topping for garnish
- Crushed vanilla wafers for garnish
- Banana slices for garnish
- Caramel drizzle (optional)
Instructions
- Prepare the pudding mixture: In a large mixing bowl, combine the instant vanilla pudding mix and cold whole milk. Whisk thoroughly for 2-3 minutes until the mixture thickens slightly. Optionally, stir in pure vanilla extract for enhanced flavor. Cover and refrigerate for at least 5 minutes to chill.
- Make the cheesecake filling: In another large bowl, beat the softened cream cheese with an electric mixer until smooth and lump-free. Add the sweetened condensed milk and continue beating until fully combined. Gently fold in half of the thawed whipped topping to keep the mixture light and fluffy.
- Slice the bananas: Peel and slice the ripe bananas into approximately ¼-inch thick rounds. To prevent browning, optionally toss banana slices lightly in lemon juice to maintain their bright appearance.
- Assemble the pudding cups: Using your chosen cups or jars, start layering with vanilla wafers at the bottom. Add a layer of banana slices, followed by a layer of the cheesecake mixture, then a layer of the chilled pudding. Repeat the layers until the cups are filled, finishing with the remaining whipped topping spread on top for a smooth finish.
- Chill and garnish: Refrigerate the assembled pudding cups for at least 2-3 hours to allow flavors to meld and the dessert to set. Before serving, garnish each cup with extra whipped cream, crushed vanilla wafers, fresh banana slices, and a drizzle of caramel if desired for added sweetness.
Notes
- For best texture and flavor, use very ripe bananas.
- Lightly tossing bananas in lemon juice prevents discoloration but is optional.
- Make ahead and refrigerate overnight for more developed flavors.
- Use full-fat dairy products for a richer taste.
- The dessert is best served chilled and consumed within 2 days for freshness.
