“`html
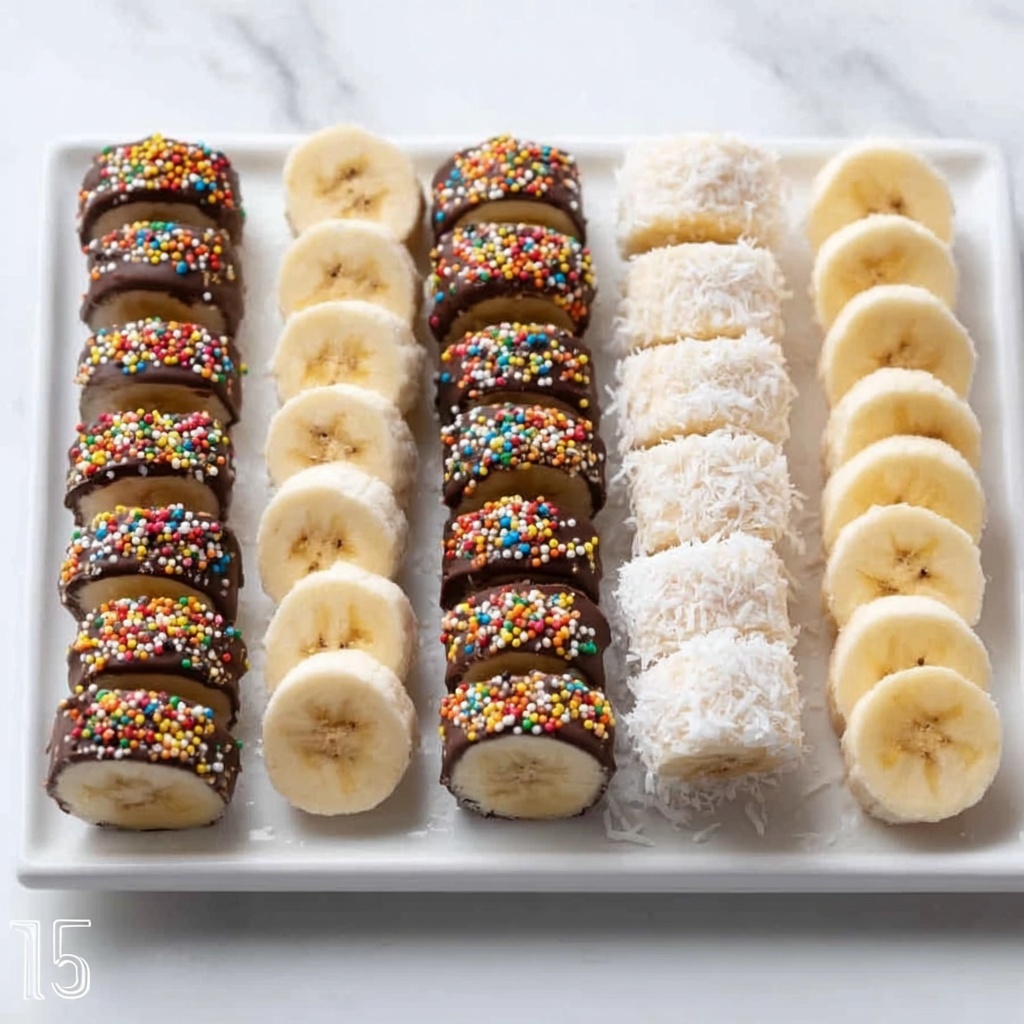
If you’re looking for a delightful, fun, and healthy snack that feels like a treat, this Banana Sushi Recipe is just the thing. It’s an imaginative twist on simple ingredients—ripe bananas, rich dark chocolate, crunchy sprinkles, nutty butter, and crispy toppings—all combined to create bite-sized sushi rolls that are as enjoyable to make as they are to eat. Whether for a quick breakfast, a lunchbox surprise, or an after-dinner indulgence, this dish brings a burst of flavor and texture that will have you smiling with every bite.

Ingredients You’ll Need
This Banana Sushi Recipe relies on a handful of accessible ingredients, each chosen to add its own magic. The banana provides natural sweetness and a creamy base, while dark chocolate adds a rich, slightly bitter contrast. Sprinkles and chia seeds introduce playful texture and color, nut butter brings satisfying creaminess, and shredded coconut along with rice krispies offer delightful crunch and a hint of nutty aroma.
- Banana: The star of the dish, ripe but firm, ideal for easy rolling and a naturally sweet flavor.
- Dark chocolate (2 squares): Adds luscious, gooey richness that pairs perfectly with banana.
- Sprinkles (1 tbsp): Offers a pop of color and a fun texture contrast.
- Chia seeds (0.5 tbsp): Provide a subtle crunch along with a boost of nutrition.
- Nut butter (1.5 tbsp): Brings creamy texture and depth of flavor to the rolls.
- Shredded coconut (1.5 tbsp): Adds a tropical note and delicate chewiness.
- Rice krispies (3 tbsp): Give a satisfying crunch that everyone will love.
How to Make Banana Sushi Recipe
Step 1: Prepare the Bananas
Begin by peeling your bananas carefully. It’s best to choose bananas that are ripe but still firm to ensure they hold their shape during the rolling process. Once peeled, place them on a clean plate or chopping board, ready for the next steps.
Step 2: Create the Sprinkles and Chia Seed Sushi
Melt the dark chocolate gently until smooth and glossy—using a microwave or a double boiler works great. Pour the melted chocolate generously over the bananas, coating them evenly. Immediately sprinkle either the colorful sprinkles or the nutritious chia seeds on top. Once coated, place the bananas in the fridge until the chocolate sets nicely, which ensures a perfect cut and that delightful snap.
Step 3: Make the Coconut and Rice Krispie Sushi
For a nutty and crunchy variation, spread a generous layer of nut butter over the bananas. The creamy nut butter helps the shredded coconut and rice krispies to stick well. Roll one banana in shredded coconut and the other in rice krispies, pressing gently so the toppings adhere but the banana remains intact. These variations give your sushi rolls exciting different textures to enjoy.
Step 4: Serve Immediately
This Banana Sushi Recipe is best enjoyed fresh! Once your bananas are coated and chilled or rolled as preferred, slice them into bite-sized sushi pieces and serve right away for the ultimate taste and texture experience.
How to Serve Banana Sushi Recipe
Garnishes
Garnishing your banana sushi can be a playful affair. A light dusting of cocoa powder or a drizzle of honey can elevate the sweetness naturally. Fresh mint leaves or a sprinkle of crushed nuts add freshness and a bit of crunch, making your presentation even more inviting and appetizing.
Side Dishes
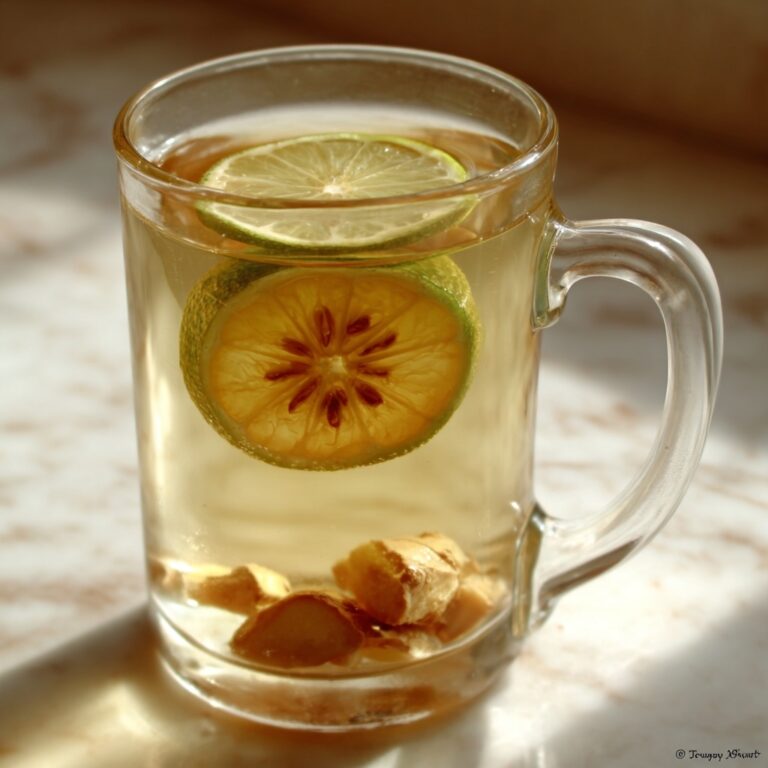
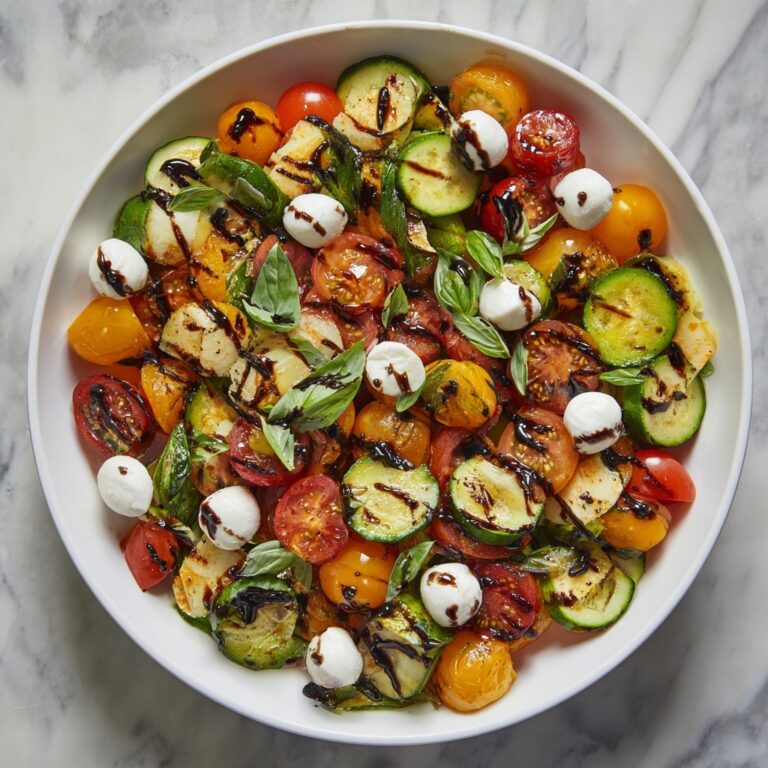
Complement your banana sushi with a side of fresh berries or a small bowl of yogurt for dipping. The tartness of the berries balances the sweetness of the banana and chocolate beautifully. Alternatively, a cup of herbal tea or a chilled smoothie pairs perfectly, making your snack feel like a special occasion.
Creative Ways to Present
Present your banana sushi on a colorful platter arranged in a sushi-roll formation. For a party, wrap slices in edible rice paper or place them on skewers alongside other fruit chunks for a fun and interactive experience. Using decorative plates, bamboo mats, or even small bowls of dipping sauces can really bring the playful sushi vibe to life.
Make Ahead and Storage
Storing Leftovers
If you have any banana sushi left over, store them in an airtight container in the refrigerator. Since banana tends to brown and soften over time, it’s best to consume leftovers within 3 to 4 days to enjoy the freshest flavor and texture.
Freezing
Freezing banana sushi isn’t ideal because the banana’s texture changes after being frozen and thawed, often becoming mushy. However, if you want to freeze the components separately—like the melted chocolate or nut butter—they can be stored in the freezer for longer periods and used fresh when making another batch.
Reheating
Because this Banana Sushi Recipe is meant to be enjoyed cold or at room temperature, reheating isn’t necessary. In fact, warming the chocolate or banana may alter the textures in ways that can detract from the experience, so serve straight from the fridge or at room temperature for best taste.
FAQs
Can I use peanut butter instead of other nut butters?
Absolutely! Peanut butter works wonderfully in this recipe. It adds a familiar creamy and slightly salty element that pairs perfectly with banana and the crunchy toppings.
Are there alternatives to dark chocolate?
Yes! You can substitute dark chocolate with milk or white chocolate if you prefer something sweeter. Just be sure to melt it gently to avoid burning the chocolate.
Can I make these Banana Sushi Recipe vegan?
Definitely. Using dark chocolate that’s dairy-free and any plant-based nut butter keeps the recipe completely vegan and delicious.
How do I prevent the banana from browning?
To minimize browning, use ripe but firm bananas, and prepare the sushi right before serving. The chocolate coating also helps protect the banana slices from oxidizing too fast.
What’s the best way to cut the banana sushi?
Use a sharp knife to slice the coated bananas into bite-sized pieces. Cutting when the chocolate is slightly chilled but not rock hard will give clean, smooth slices without squashing the banana.
Final Thoughts
This Banana Sushi Recipe is a delightful way to enjoy simple ingredients with a fun and creative twist. It’s easy to prepare, pleasing to the eye, and bursts with flavor and texture that will keep you coming back for more. Next time you want a quick snack or a unique sweet treat, give this recipe a try—you’ll be amazed at how such humble ingredients can create something so special and memorable.
“`
Print
Banana Sushi Recipe
- Prep Time: 5 minutes
- Cook Time: 0 minutes
- Total Time: 5 minutes
- Yield: 1 serving
- Category: Snack
- Method: No-Cook
- Cuisine: American
- Diet: Vegetarian
Description
A fun and easy Banana Sushi recipe featuring bananas topped with dark chocolate, sprinkles, chia seeds, nut butter, shredded coconut, and rice krispies. This no-cook snack is perfect for a quick, healthy treat or a playful dessert, combining creamy, crunchy, and sweet textures.
Ingredients
Banana Sushi with Sprinkles and Chia Seeds
- 1 banana
- 2 squares dark chocolate
- 1 tbsp sprinkles
- 0.5 tbsp chia seeds
Banana Sushi with Coconut and Rice Krispies
- 1 banana
- 1.5 tbsp nut butter
- 1.5 tbsp shredded coconut
- 3 tbsp rice krispies
Instructions
- Prepare the bananas: Peel the bananas and place them on a plate or board to get ready for toppings.
- Melt chocolate: For the Sprinkles and Chia Seed Sushi, melt the dark chocolate squares until smooth and pour it evenly on top of the peeled bananas.
- Add toppings and chill: Sprinkle the melted chocolate-covered bananas with sprinkles or chia seeds. Place them in the fridge to allow the chocolate to set firmly.
- Prepare nut butter sushi: For the Coconut and Rice Krispie Sushi, spread the nut butter evenly on top of peeled bananas.
- Coat with crunchy toppings: Roll the nut butter coated bananas in shredded coconut or rice krispies to cover them evenly.
- Serve: Serve the banana sushi immediately for the best texture and taste.
Notes
- You can customize toppings based on your preferences or dietary needs.
- Make sure to use ripe bananas for the best flavor and texture.
- If nut allergies are a concern, choose nut-free butter alternatives.
- Keep the chocolate-covered bananas refrigerated until serving to prevent melting.
- This recipe is quick and perfect for a healthy snack or kid-friendly treat.


